How to Create Simple Products in Magento 2
A simple product is the most basic type of product in Magento and the most widely used. It is also the basis of Bundle, Configurable, Downloadable, Grouped and Virtual products.
These products are as the name suggests, simple with no options or choices built into them and as such fit in as parts of the more complicated products.
- Choosing a Simple Product
- Filling in the required fields
- Filling in the additional content
- Review your data
- Publish your product
1. Choosing a Simple Product
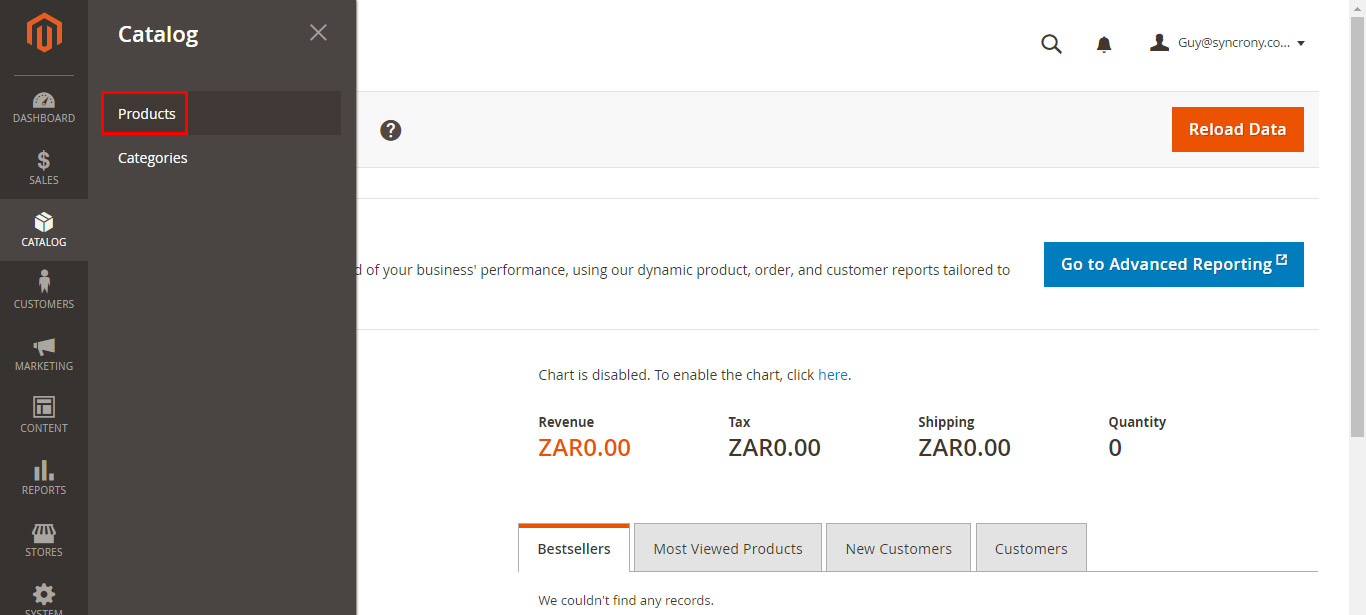
In the admin panels left navigation, you will see Catalog. To add a product click Catalog and on the fly out click Products.

On the next screen click down arrow next to add product and select add simple product.

So we move on to the required fields. 1st if you have setup alternative attribute sets select the correct one. Then we fill in our required product fields.
2. Filling in the required fields
The following fields are required of all products.
- Product Name
- SKU (Store Keeping Unit)
- Price
At this point switch your product to disabled as we don’t want it to be published yet and save your product.

Filling in the additional content
So now we come to the additional content that gives the product meaning.
- Tax Class – is this item taxable or not?
- Quantity – even if your store does not track stock quantity to have a product appear on the sales side of your site it MUST have a positive quantity.
- Like with Quantity to have the product visible Stock Status must be in stock.
- Enter the Products Weight. Even if your shipping doesn’t use weight as part of its calculations I have found that not having a weight of any kind can cause some unexpected results.
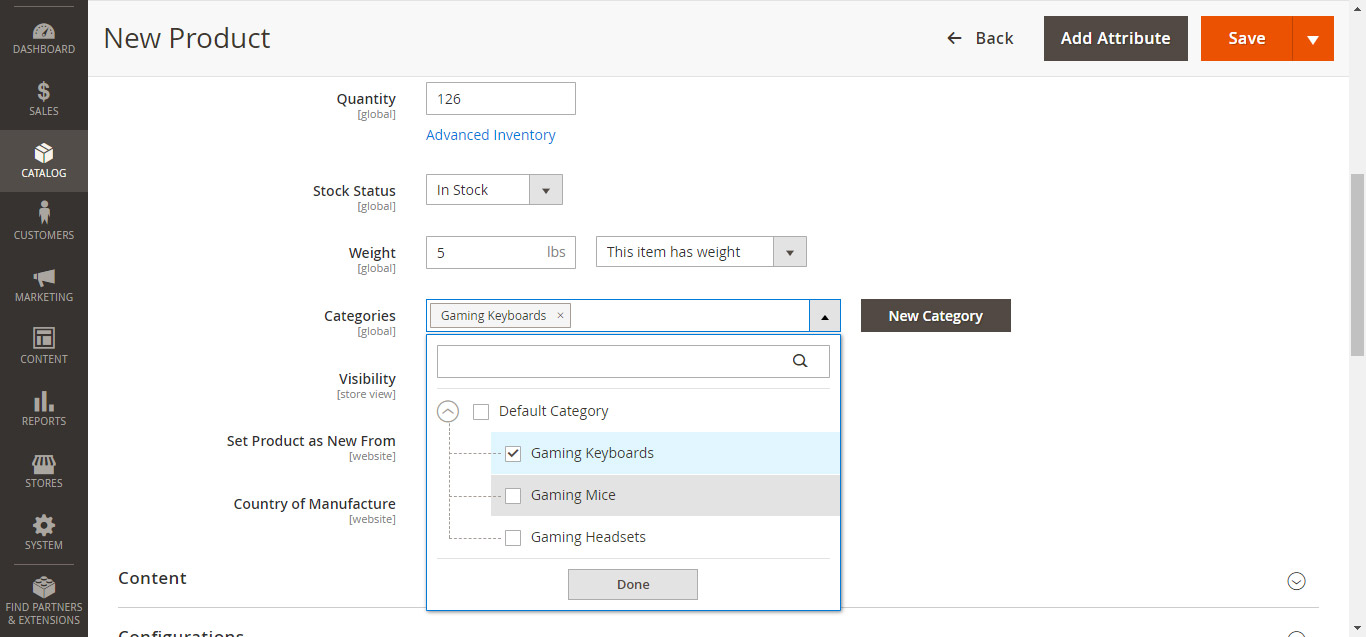
- Categories – this is a dropdown checkbox list that you can use. You can select multiple categories even if they aren’t in the same tree. It also has a search function if you find you have too many categories to search through.

- Content – This is the information about your products. The wysiwyg editor should be enabled as default. If not click the show/hide button to enable it. Enter the content into description and short description boxes.
- Images and videos – you are able to drag and drop the images and videos on to the camera icon or you can click on the icon and navigate to the item to upload it.
4. Review your Data
I can’t emphasise this enough. Check what you’ve entered. Often you’ll be uploading products in a rush and miss something, which will throw your entire product out of whack. The biggest frustration with loading products happens when your newly created stock item does not show up on the front end. The most common cause of this is when you forget to set a stock level.
This has happened to me more than once, remember to take an extra minute to check everything. It’ll save you time in the long run.
Publish your Product
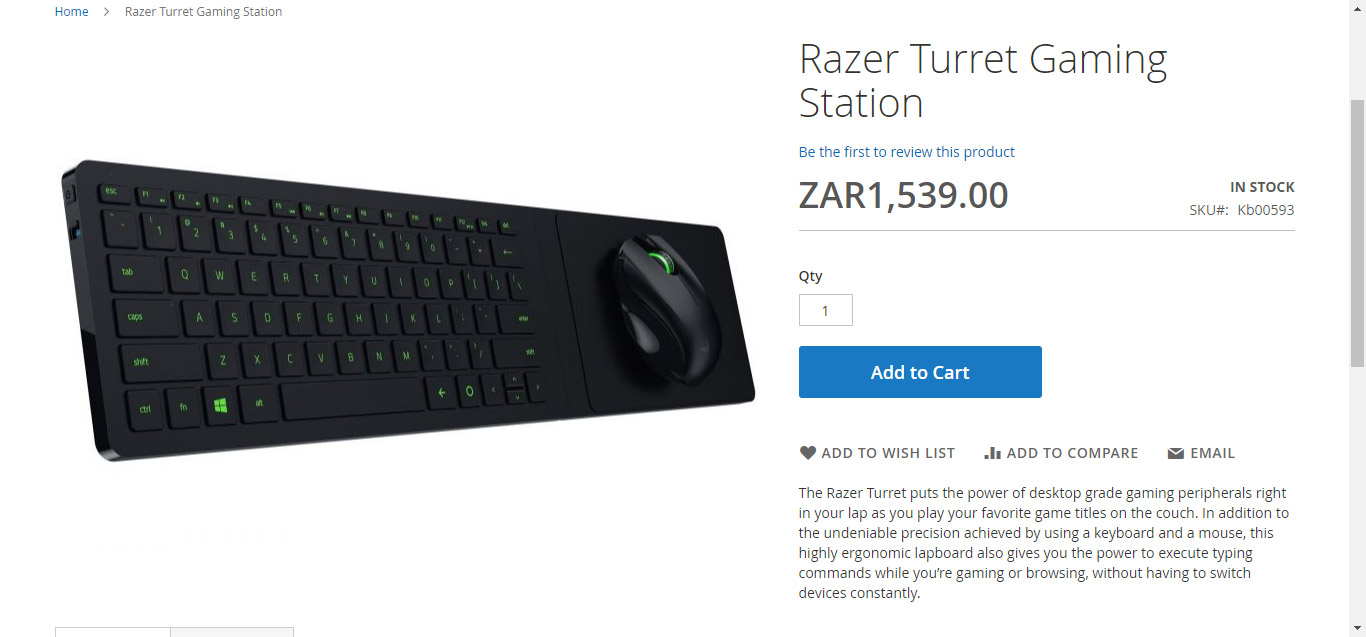
Once you’ve checked your product and completely happy go back to the top of the page and enable your product and save. The go to the store front and admire your handy work.

